| Free picture collage generated with Smilebox |
Moored at Home in Bumble Hole

At Home - Moored at Bumble Hole
Saturday, 23 July 2011
Playing with the pics ....a few befores


Wednesday, 13 July 2011
A few for the archive
She has now got a coat of red oxide paint top to bottom........next dry spell will see a testing out of the filler ....
....
(click on the pics to enlarge)


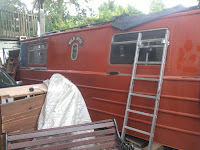 Scraping off the old paint revealed that she was previously green with red roof and yellow lining, then blue, red and white when we bought her in 1988 ......Her twin, Wild Musk, last seen at Halesowens Hawn basin, lived on by their builder Roy Chater until he sadly died last year.....anyway Wild Musk was still green and yellow, but I prefer the blue, red and white. Might go for Oxford Blue considering I was born in Oxford, a good choice I think....we shall see....
Many more pics to follow
 ....
....(click on the pics to enlarge)


 Scraping off the old paint revealed that she was previously green with red roof and yellow lining, then blue, red and white when we bought her in 1988 ......Her twin, Wild Musk, last seen at Halesowens Hawn basin, lived on by their builder Roy Chater until he sadly died last year.....anyway Wild Musk was still green and yellow, but I prefer the blue, red and white. Might go for Oxford Blue considering I was born in Oxford, a good choice I think....we shall see....
Many more pics to follow
Friday, 8 July 2011
First drawings
Just attempting to get all the basic measurements on to one page. This was to scale (well sort of ) on A4, but on rotation it has squeezed up a little so looks shorter and the back & front decks are very much out of scale, but its good enough for starters.
 and the back & front decks are very much out of scale, but its good enough for starters.
Have been sitting inside contemplating where all the water pipes, electric cables and things that must be sorted before anything else happens. There is a route from front to back through the base struts to take the cold water from the storage tank (under the front deck) to where it will be stored and heated (in a calorifier by the steps next to the back deck). The calorifier also has to be accessed from the gas heat exchanger which will be fitted to the engine exhaust pipe. This heat exchanger will provide hot water and also be piped round the interior for all round heating and a couple of radiators whilst cruising. Good space for the pump will be under the front steps
Top diagram shows the kitchen space at the back, toilet compartment in the middle and the front half is devoted to all living and sleeping....she is only 35ft long in total and with 7ft each front and rear decks, leaves approximately 21ft of interior to play with .... 10 years of cosyness but how did we manage ?.....ah yes, on the bank at the moorings, Jim built a shed and a splendid shower/washing machine and toilet room, all still used by the present day residents. I will have a mooring there when Wildrose is back in the water, but it could be some considerable time ha ha... but with only 21' x 6'6" of space, its going to be interesting to see how it comes together. Always remember ... measure twice, cut once ....its Jim's Law ha ha.... but there's still a lot of dirty work yet before any refitting.
Thursday, 7 July 2011
Cracking on
After considerable investigation, no one knows anything about the hole !!! however all agree that a nut and bolt welded in place will do the trick...........

The interior is almost ready for a Waxoil treatment, painted Hammerite Red on the base where the stove is going. pulled out the wooden cladding round the sides below the gunnels and removed the old insulation...thank goodness for face masks from Screwfix..
The sides are good with the original bitumen, so soon after the Waxoil, the balast and floor can go in....gosh...a couple of hours a day eh!!!
I have to say that its great to have turned the corner from dissassembling to renewing....a sort of theraputic milestone I suppose

So, taking advantage of some sunshine I have got cracking on the exterior again...not so much rust on the outside now, just lots of loose paint to scrape away ......
Found a small leak on this window at the hinge where it opens just by the top of the ladder.

But she's looking good eh!

The interior is almost ready for a Waxoil treatment, painted Hammerite Red on the base where the stove is going. pulled out the wooden cladding round the sides below the gunnels and removed the old insulation...thank goodness for face masks from Screwfix..
The sides are good with the original bitumen, so soon after the Waxoil, the balast and floor can go in....gosh...a couple of hours a day eh!!!
I have to say that its great to have turned the corner from dissassembling to renewing....a sort of theraputic milestone I suppose

So, taking advantage of some sunshine I have got cracking on the exterior again...not so much rust on the outside now, just lots of loose paint to scrape away ......
Found a small leak on this window at the hinge where it opens just by the top of the ladder.

But she's looking good eh!
Thursday, 16 June 2011
A hole in my bucket !!!!!!!!!
 Have now removed all the internal bulkheads and removed any wood that needed replacement from the side panels below the gunnels along with the insulation. Pleased to see that he metal is sound and the original hammerite finish is still good......on the sides...
Standing in the middle, I can touch both sides

However when I cleaned out the the bottom corners, HORROR of HORROR
daylight peeped through ..... and I spy a hole....in the bottom.......a sharp intake of breath

.........and words I cant print.......
daylight peeped through ..... and I spy a hole....in the bottom.......a sharp intake of breath

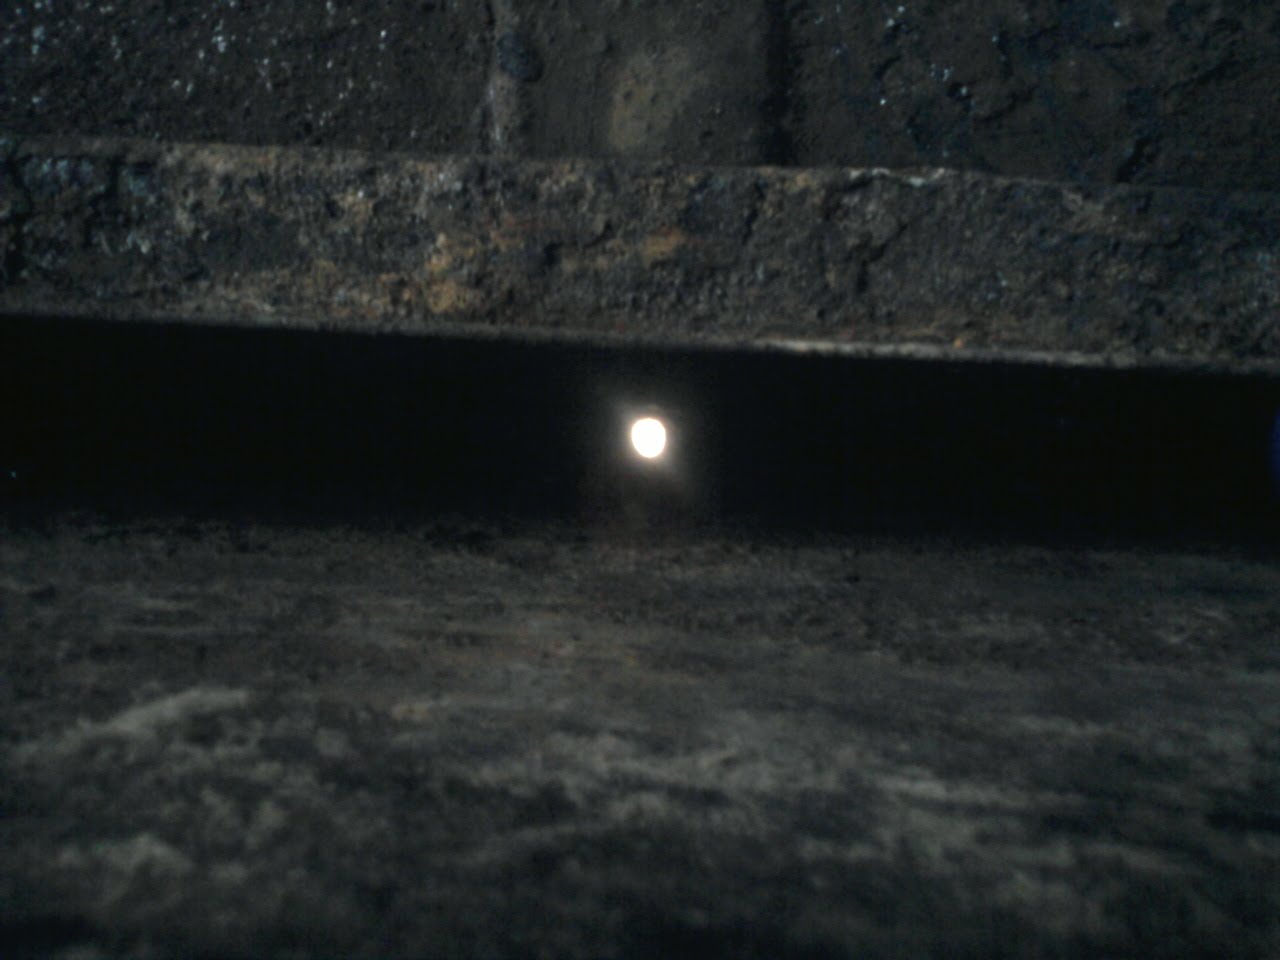
.........and words I cant print.......
On close inspection, the hole is NOT rust related, many sighs of relief, phew.
The hole is perfectly round, 1/4" diameter and very much man made ????? did it have a plug hole / drain hole.......I wonder.......?????
The good news is that the thickness of the base is established at 1/2 ", the metal is sound.....and welding in a bolt will seal it, but I will make further investigations with the builder......Jim would be joking about corks and bungs......and a Hancock impersonation.
Anyway, I am not panicing...Mr Mannering
Saturday, 11 June 2011
Out goes the kitchen sink
After a week on the outside and until I can get more red oxide paint, I got stuck in to the interior and more cleaning rust, but also removing the 2 main bulkheads and the kitchen unit (2 small bulkheads still in place) The gas and water pipes have gone...only the water to be renewed cos not having anything gas on board...bottles far too heavy for me to manover, particularly in the winter getting them on an off the boat, bugger that....I remember us almost dropping one in the cut once.!!!!!! and its jolly expensive....changing 2 bottles twice a month ... harrumph harrumph indeed...... .so I am sticking to the decision and will have solid fuel and diesel only with solar panels and wind turbine back up. Saw some cracking kit at the crick boat show so by the time I will be ready there should be plenty of choice....
Needed to get a crowbar to the plywood side panels then a very good mask when removing the insulation..... and held my breath.!!!!!! anyway have now got a major start on the inside, almost 90% of the floor exposed and half the walls. but only below the gunnels.....above appears to need not much ...
Revealing so much of the interior gave me the idea that if I could clean and paint the floor where the solid fuel fire is going to be, then I could install it before the winter, and work through the cold weather....with the means to make tea and jacket potatoes to boot....ha whoopydooo...so I am spurred on. Have already seen the stove....its called the Portland multifuel for marine and has all the new boat safety standards / regulations accounted for, like insulated sides and flue, saftey rail and convection holes... Could be a Chrissy treat......
Sitting inside is making me start to think about wires and pipes and switches and lighting.....back to drawings eh !! ha ha


Needed to get a crowbar to the plywood side panels then a very good mask when removing the insulation.....
 and held my breath.!!!!!! anyway have now got a major start on the inside, almost 90% of the floor exposed and half the walls. but only below the gunnels.....above appears to need not much ...
Revealing so much of the interior gave me the idea that if I could clean and paint the floor where the solid fuel fire is going to be, then I could install it before the winter, and work through the cold weather....with the means to make tea and jacket potatoes to boot....ha whoopydooo...so I am spurred on. Have already seen the stove....its called the Portland multifuel for marine and has all the new boat safety standards / regulations accounted for, like insulated sides and flue, saftey rail and convection holes... Could be a Chrissy treat......
Sitting inside is making me start to think about wires and pipes and switches and lighting.....back to drawings eh !! ha ha

Monday, 6 June 2011
About time too
After a lot of cleaning and wirebrushing, finally I was able to give the skirt its first coat of red oxide paint......now almost all the way round, 'she's lookin good'..... Also given the roof another layer ....theres a lot of filler work to be done yet on the roof and I have to find out how the stuff I have will work.....Dimitrol ???? I think thats what its called....the tech support said it would be good enough to fill holes in a chieftan tank !!!!! so I thought to myself that it would be just the job for WildRose ha ha...
The sides will need rubbing down again, then a coat of Grey before the winter
 Had a good visit to the Crick Boat Show last weekend.........found lots of goodies and ideas.......particularly the new design Portway multifuel stove.....built to meet new boat safety standards.....I thought that it might be a good idea to fit one in this summer so that I can work through the winter .... Also been looking for a marine electrics course, tey used to run them at the Stourport Marina Clubhouse.. I thought that it might be a good idea to find out how it all should work befor I start (that will be a refreshing change for impulsive me ha ha)...and whilst I am stripping out the inside I can get a better idea of what I can or can't do..... No sign of getting the engine fitted yet, but there is have plenty I can get on with. Back soon

 Had a good visit to the Crick Boat Show last weekend.........found lots of goodies and ideas.......particularly the new design Portway multifuel stove.....built to meet new boat safety standards.....I thought that it might be a good idea to fit one in this summer so that I can work through the winter .... Also been looking for a marine electrics course, tey used to run them at the Stourport Marina Clubhouse.. I thought that it might be a good idea to find out how it all should work befor I start (that will be a refreshing change for impulsive me ha ha)...and whilst I am stripping out the inside I can get a better idea of what I can or can't do..... No sign of getting the engine fitted yet, but there is have plenty I can get on with. Back soon
Subscribe to:
Posts (Atom)
